Buckboard Bacon and my 6th anniversary!

Wow! Yesterday marked my blog’s 6th Anniversary. I may not have been as active here during the last year as I wanted, but I’ve enjoyed writing and connecting with people from around the globe! I hope to keep it up for years to come!

A few weeks ago I found that other hobbiests have been curing buckboard bacon. I had never heard of such a thing! As it turns out, buckboard bacon is made with any other cut of pork besides pork belly. After reading a few accounts of wagon trains heading west and the list of supplies usually included 150 lbs of bacon- this makes sense that most of the “bacon” was most likely cured pork.

Whatever the origin is, I just had to try it! It seems that the most common cut to use now is pork butt (shoulder), so thats what I bought!

The first thing to do is to remove the bone… It wasn’t that difficult with a fillet knife to cut out the bone, but for now on I will buy the boneless roasts!

Once the bone was out, I placed the meat into 2 ziplock bags (gallon size or larger!) Each bag weighed just shy of 5 pounds.

The cure:

For each container I mixed:

  • 1 teaspoon Pink curing salt #1
  • 5 tablespoons kosher salt
  • 5 tablespoons Brown Sugar
  • 1 tablespoon black pepper
  • 1 tablespoon garlic powder

Mix and pour into bag, along with approximately 1/2 cup water. Knead to cover the meat and pop it into the fridge!

Once a day, flip the bag over to keep the coverage of the brine even. Cure for 7 days (10 days if the meat is over 2″ thick)

Once the 7 days are over , rinse off the cure and soak in water for 90 minutes- changing the water every 15 minutes. If you don’t, your buckboard bacon will be really salty!

Smoke your bacon for 2 hours or if you don’t plan on cooking it again later, cook to 150f. I cooked mine to 150, but I still cooked it like bacon!

Is it lean bacon or kind of fatty ham? All I know it is was delicious on my homemade burger!

Posted in curing meat, DIY, Meat, Uncategorized | Tagged , , , , , | 7 Comments

Peach Passion Jelly

Last year at this time, I posted a recipe for Cinnamon Apple Jelly. It was such a big hit with friends and family around the holidays that I thought I might repost it! This jelly has a very bold cinnamon and apple flavor that comes mainly from a whole box of Celestial Seasonings Tea.

In my blog post last year I mused that a lot of other flavors of their teas would also make as memorable jelly. So instead of just reposting my recipe, I decided that I would try my hand at making Peach Passion Jelly! I can take no credit for the amazing peach flavor … Celestial Seasonings gets the credit for that lively flavor. I can’t wait to share this with friends and family this year!

Ingredients

  • 3 cups Apple cider
  • 1 can (12 oz) Kerns Peach Nectar
  • 1 box Celestial Seasonings Country Peach Passion Tea (20 servings)
  • 1 box Sure-Jell no sugar pectin
  • 5 cups white sugar
  • 2 tablespoons lemon juice

    In a medium saucepan, bring the cider and nectar to a low boil. Add all 20 teabags and stir to make sure they’re submerged. Steep for 15 minutes and remove the bags.

    Whisk in the box of pectin and heat to a full rolling boil. (Mixture should still bubble when being stirred)
    Stir in sugar and lemon juice and once again heat to full rolling boil! By the time it gets to a boil you will notice it starting to jell.
    Ladle jelly into 8 half pint jars and can in a hot water bath for 10-12 minutes.

    Homemade jelly on homemade bread with home roasted coffee!

    Happy Thanksgiving everyone!

    Posted in DIY, Jelly, Uncategorized | Tagged , , , , , , | 5 Comments

    Road trip 2018!

    September and early October were a busy time for me. In mid September I flew out with my son Zack to Kansas to visit my mother and attend a Kansas concert! The concert was held outside – actually on the Oregon Trail in a place called Alcove Springs. We visited there last year and I wrote a bit about it here.

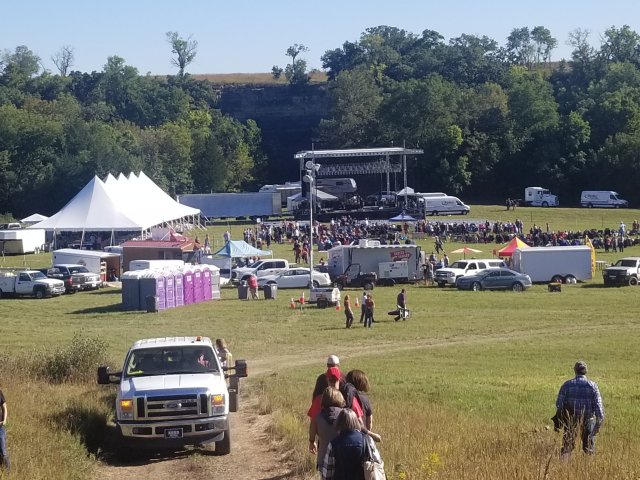
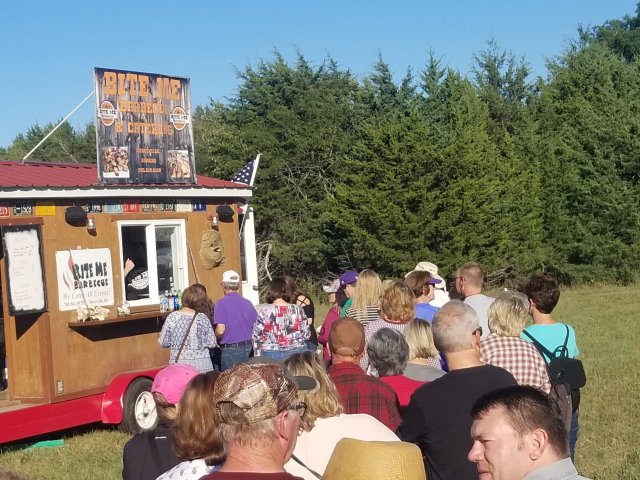
    Seating was limited to 3000 (you had to bring your own chair!) Food and drinks were all supplied by a local brewery and a local BBQ outfit, which I thought was pretty cool!

    We had a great time listening to a great band from my younger years!

    The weather was just perfect while we were there, and I was amazed just how nice and green the local crops were!

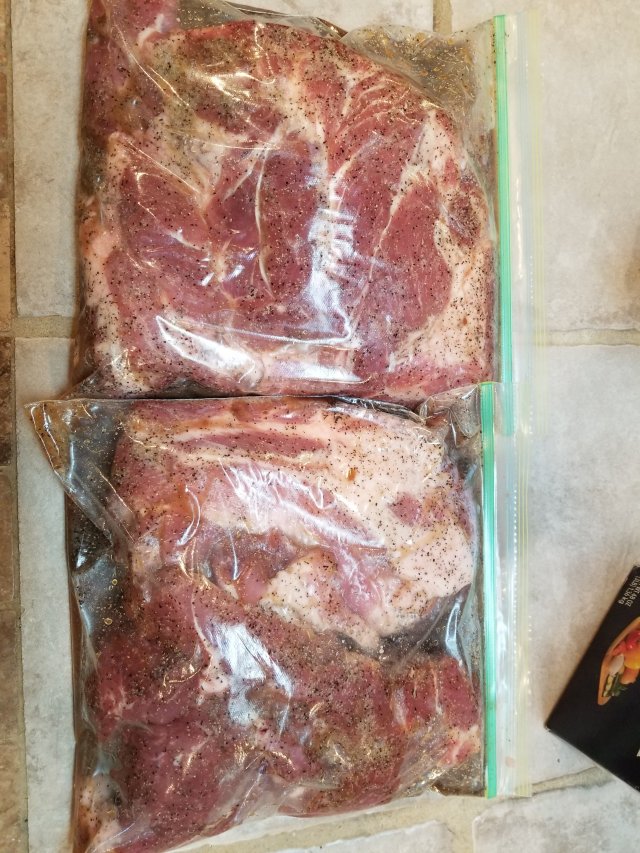
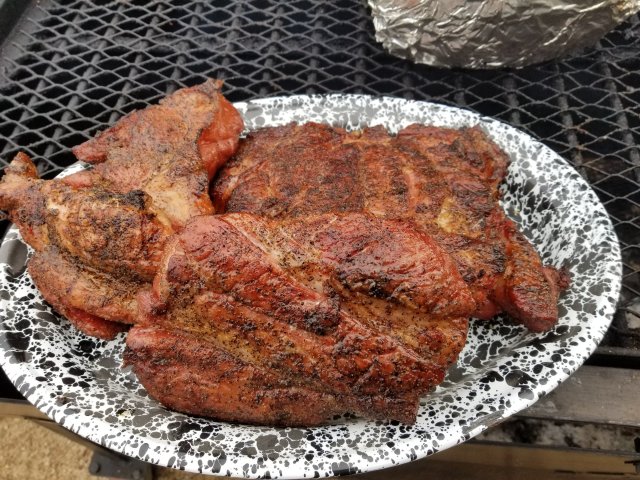
    A few days later. Zack and I flew home to California with my mom so she could visit the rest of the family too. We stayed home 10 days and had a few good barbecues and an awesome pizza party at the house!

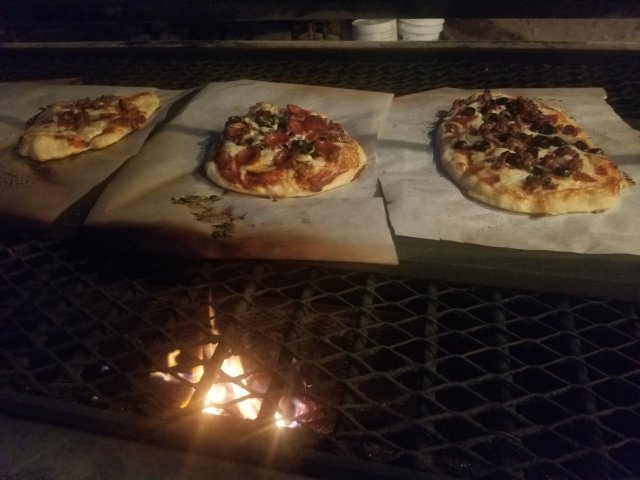
    I may have to write a blog post soon about pizza on the bbq! So good.

    We then packed up our suitcases and got ready for a huge road trip! The plan was for me to drive back to Kansas (1525 miles) and drop Mom off at home, and then drive to Bellefonte, Pennsylvania and move my daughter and her boyfriend back to California.

    The short version: I drove 5,359 miles in 12 days and lived!

    The long version: We drove 300 miles before it started raining and the closer we got to Kansas – the harder it rained!! There were swollen rivers, flooded fields and a lot of mud, but I was totally surprised to see those nice green crops all dried looking and brown! How could that be? There’s no way for everything to be that brown in thatshort amount of time.

    I dropped Mom off and headed to Pennsylvania the next morning. The weather dried up a bit. For the next 1200 miles I studied all the crops that I drove by… most were brown, but the grasses surrounding the fields were green! It finally dawned on me what I was seeing… the farmers are using roundup (glyphosate) to kill their crops and dry them before harvest. They’re obviously spraying all of their crops… corn, wheat, soybeans… everything. I even saw one soybean field that had a few big patches of green in the middle where they had missed spraying.

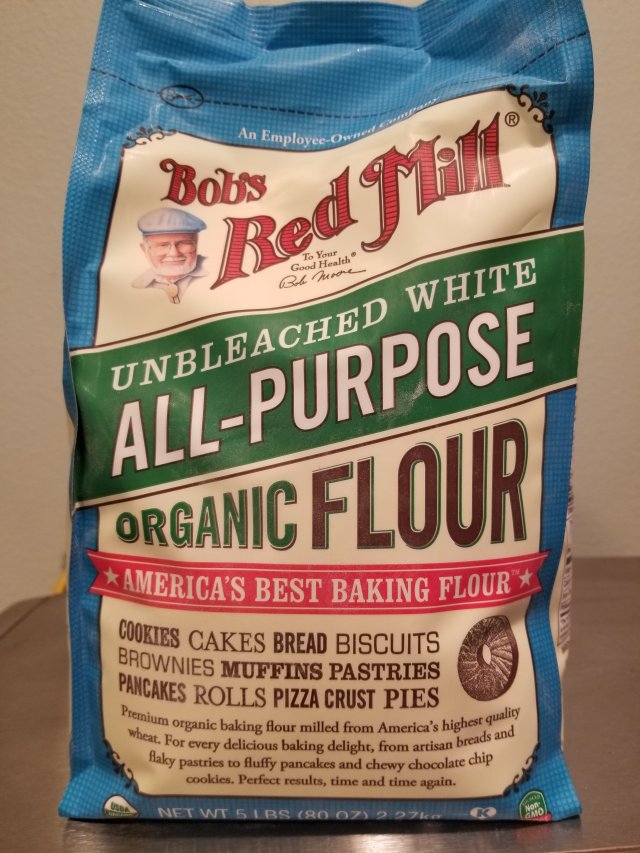
    Sorry, but I can’t believe that spraying an herbicide on your food 3 to 7 days before it is harvested would be safe… There has been an explosion of cases of Celiac disease around this country- my wife was diagnosed last year. Now I have to wonder if maybe there is a connection there? I am beginning to think that there is. At this point, buying organic is the best option, but it may be too late if you already have a Celiac diagnosis.

    Ok, rant over… As soon as I got to Pennsylvania it started raining again as all the moisture from hurricane Michael moved northward! We packed the truck in the rain and headed west!

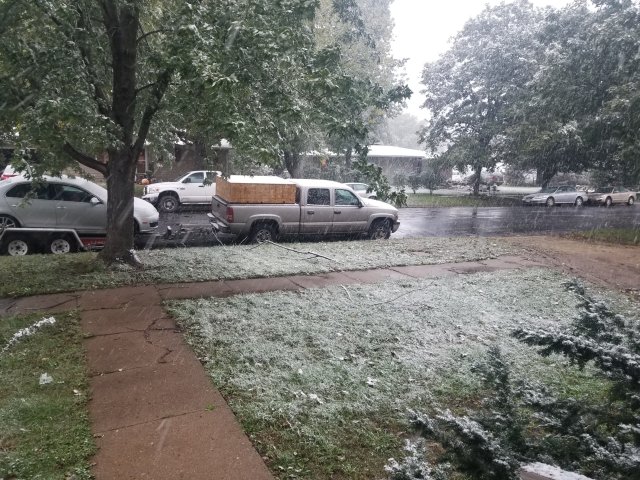
    By the time that we got back to Blue Rapids, Kansas another storm was upon us… this time it snowed!

    When we left to go home on Monday morning I had to scrape 4″ of snow off of my windshield! We headed south toward Dodge City and spent the night in Tucumcari, New Mexico. The next morning it started raining again! By the time we hit Albuquerque it was starting to snow again and it was all snow by the time that we hit Flagstaff….

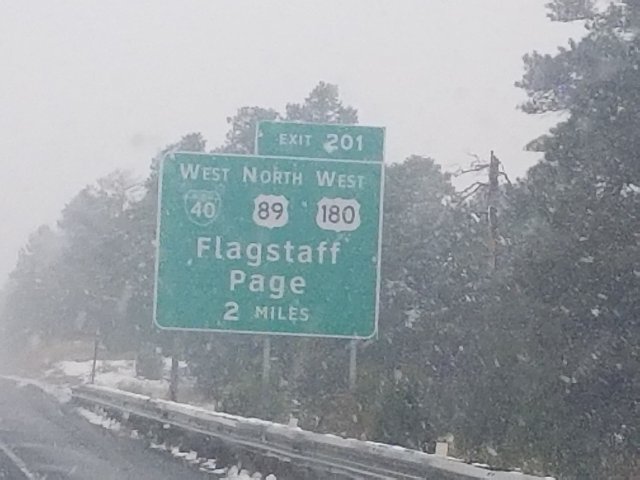
    I was worried that they might shut down I40 at Flagstaff, but we made it through just fine!

    We spent our last night in Laughlin Nevada where we got a nice room at the Flamingo. After all of that driving, I really didn’t feel like doing much, so I lost $5 playing Keno and headed to bed!

    I am very glad to be home now, and I am amazed and thankful that we travelled 5359 miles in rain and snow and had no problems at all!

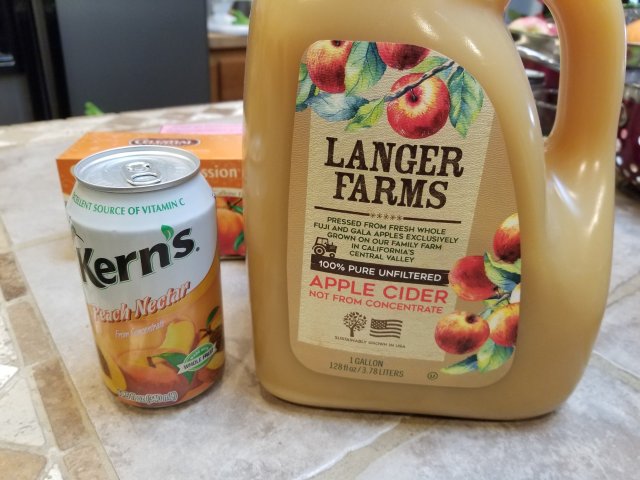
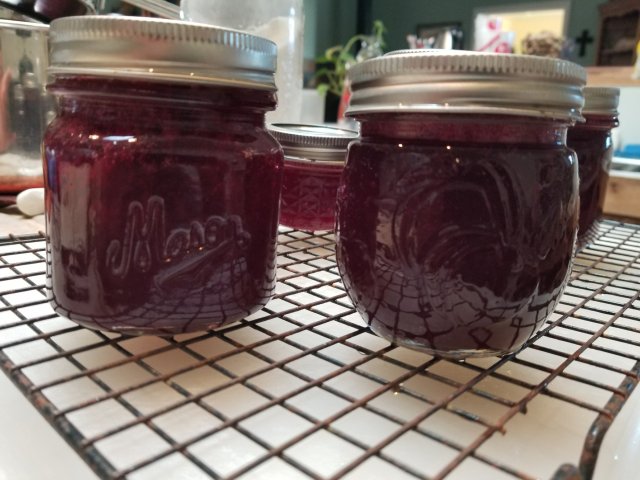
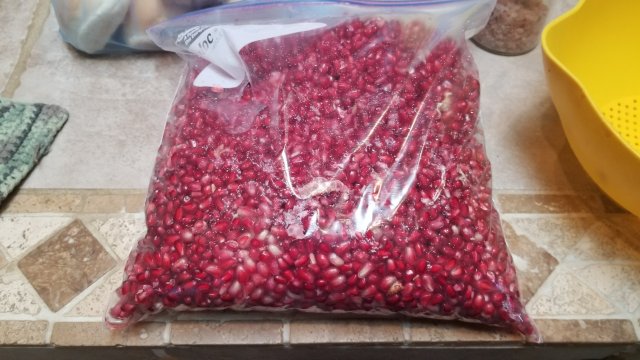
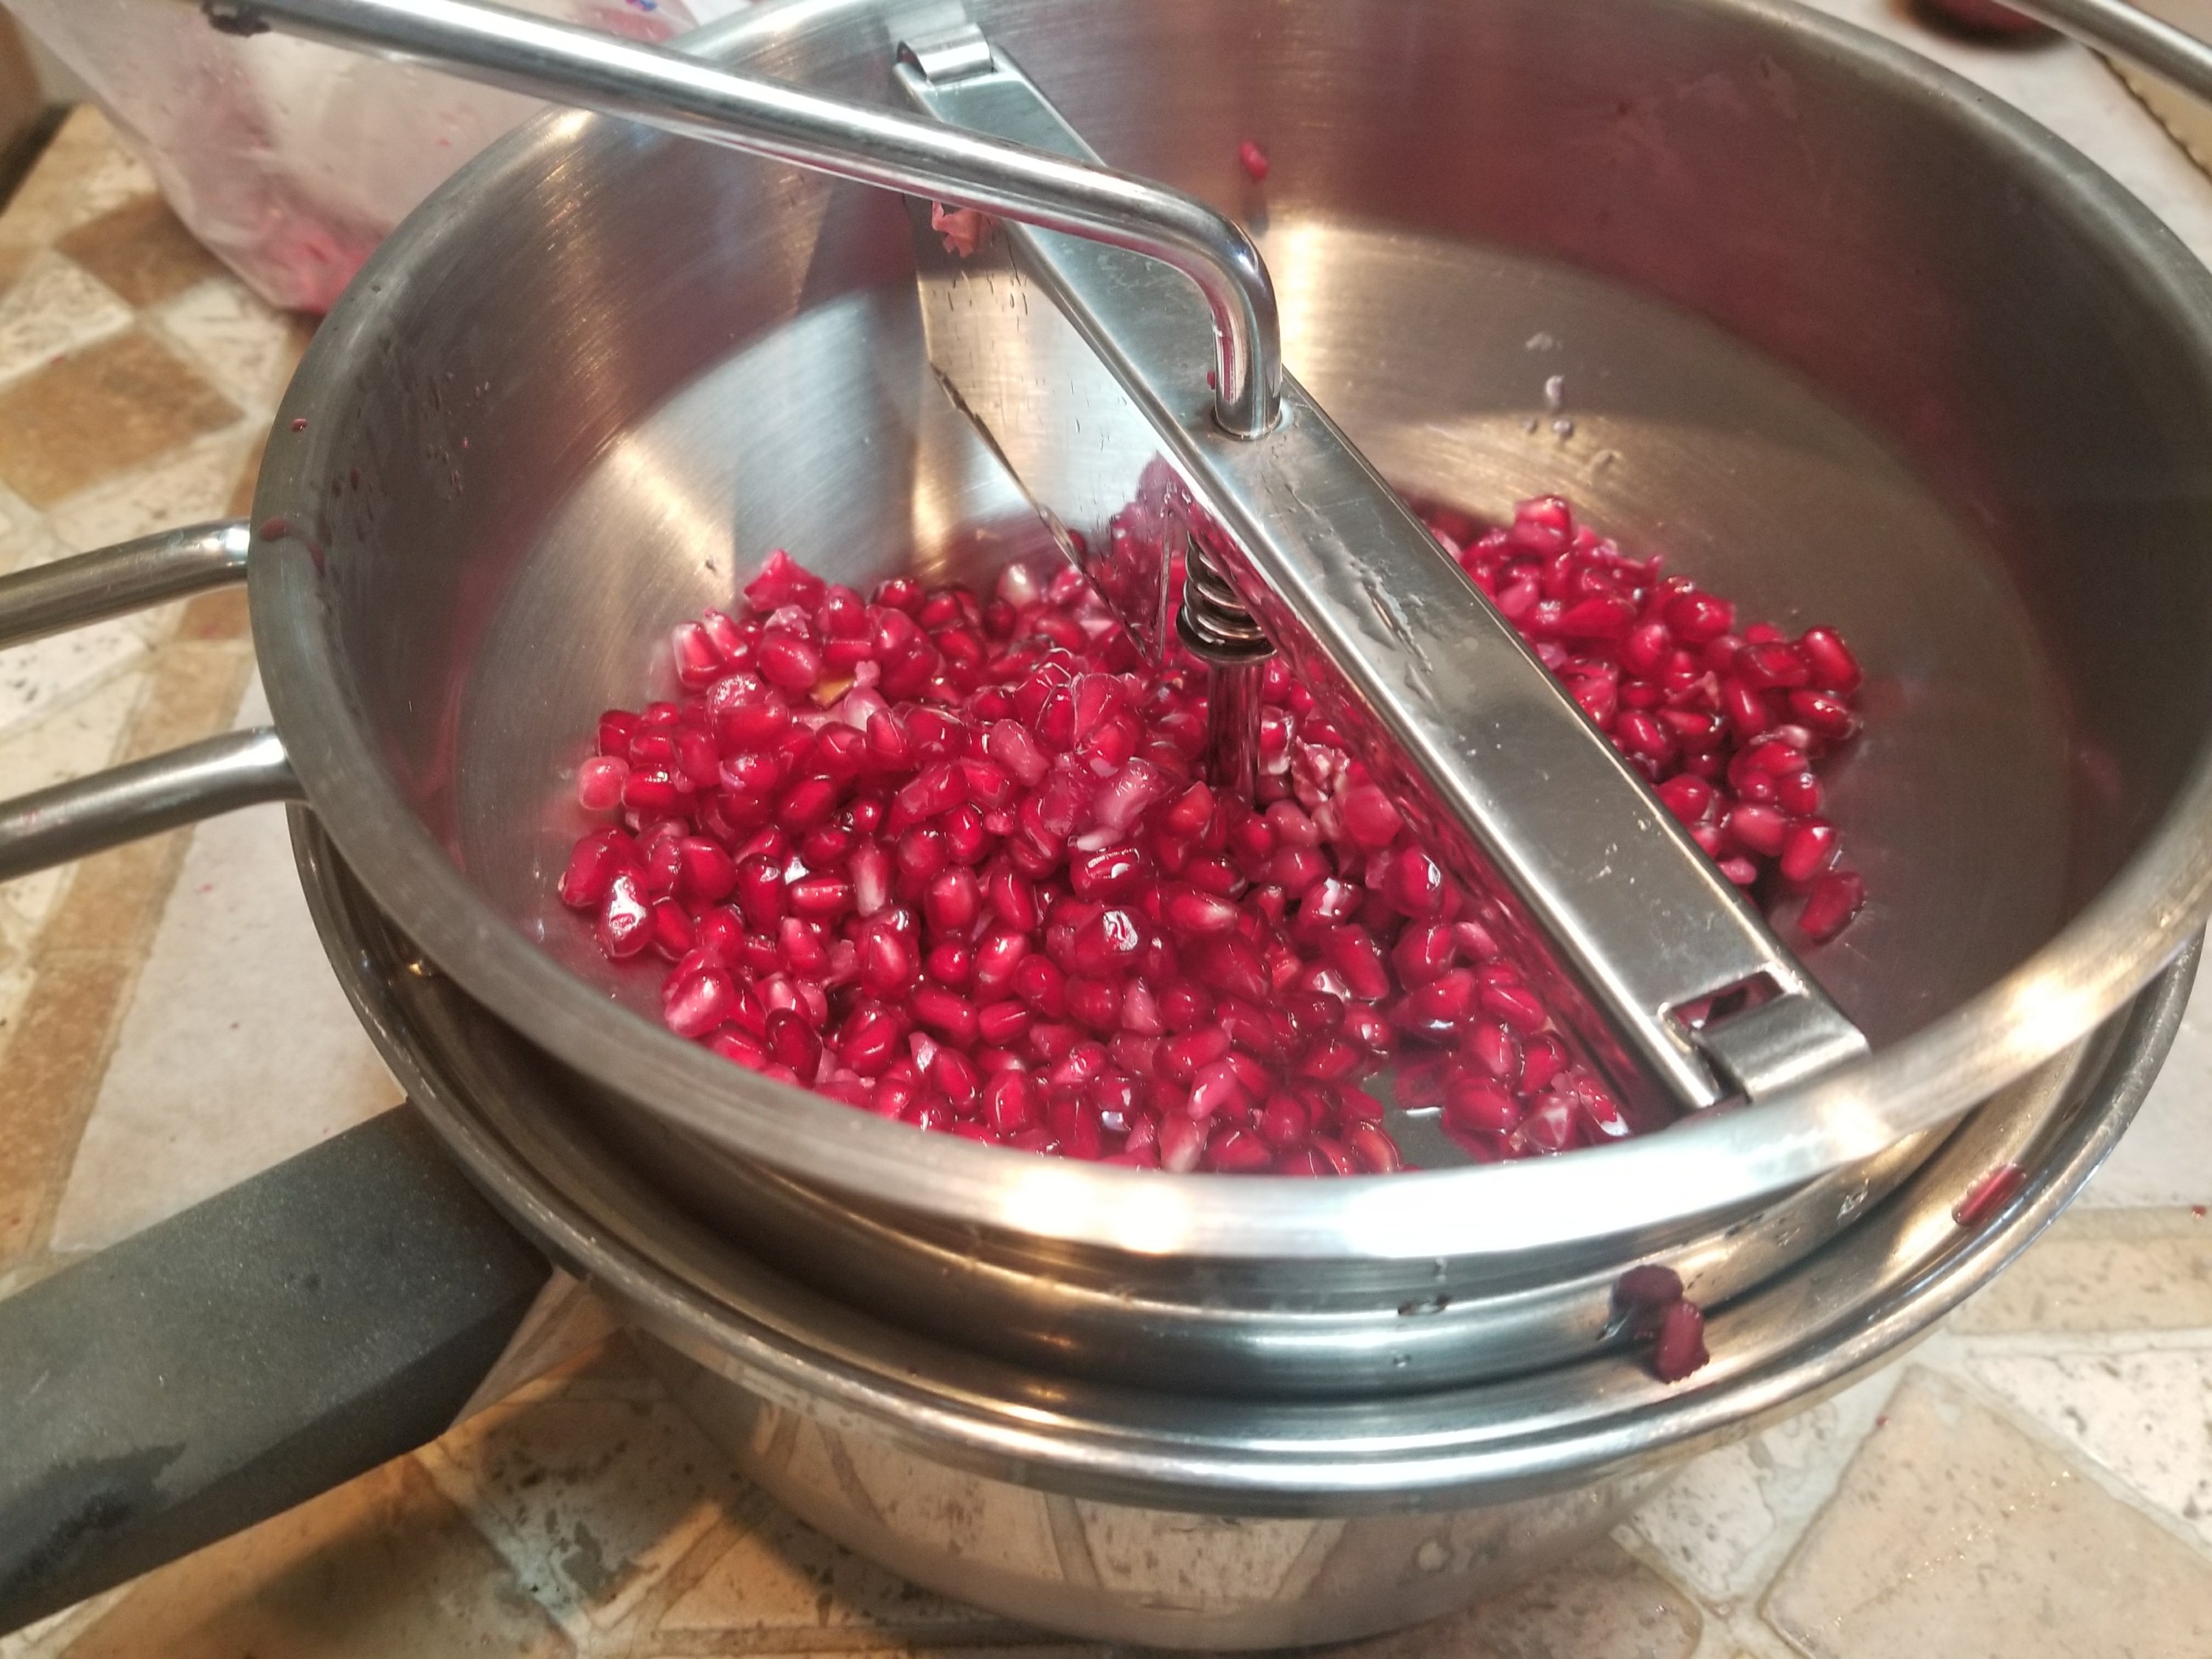
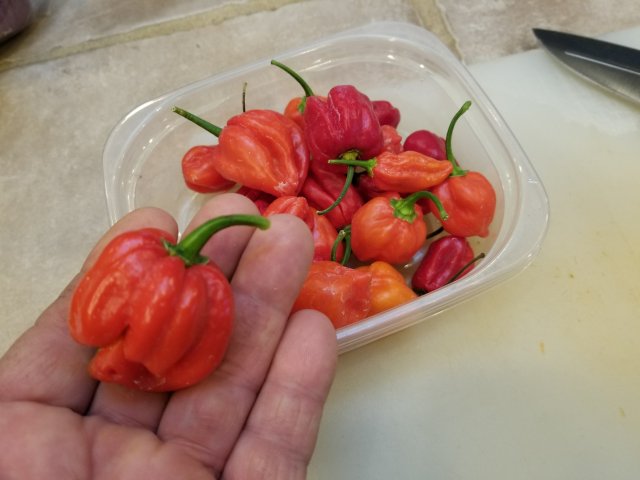
    Also, after seeing all the evidence of glyphosate bring sprayed directly on our food just days before harvesting- this is the first thing that I bought at the supermarket!

    Posted in Travel | Tagged , , , , , | 6 Comments

    Turkish Delight

    For the past few months my wife has suggested that I try making Turkish delight or Lokum – it’s one of her favorites and it’s gluten free! Daphne was diagnosed with Celiac disease last year so I have been doing a lot of gluten free recipes lately!

    I was thinking that this project would be hard, or the results would be inedible, but it was pretty easy and tasty too. Last night, Daphne went to visit a friend – so I sent along a sample package to share. The whole family loved it, so I guess I will send along some future samples!

    I have made this recipe twice now. The first time I didn’t have any rose water (which makes a more traditional turkish delight) so I improvised and used Lorann apple flavoring (which is gluten free btw)

    The second batch I used rose water, which I ordered from Amazon!

    In medium saucepan add:

    • 3 cups granulated sugar
    • 1/2 cup honey
    • 1/2 cup water
    • 1/2 teaspoon citric acid or cream of tartar

    Place pan on low heat and cook until temperature hits 260f

    In 1 qt pan add

    • 1 cup cornstarch
    • 1 cup powdered sugar
    • 2 1/2 cups water
    • 1/2 teaspoon citric acid or cream of tartar

    Set aside to stir in later:

    • 1 cup chopped pistachios
    • 2 tablespoons Rose Water
    • 5 drops of red food coloring

    If you want to use Lorann oils as flavoring- substitute 1/8 teaspoon for the rose water

    When first pan reaches 220 degrees- start second pan on medium heat, stirring with a whisk. As it heats to boiling, this will thicken up until the mixture looks like the paste we all used in kindergarten!

    By now, the pan that contains the syrup should be around 260 degrees. Stir the syrup into the paste and mix thoroughly. Place back on stove and boil on low heat for 30 minutes, stirring occasionally.

    Line a 9 x 13 pan with parchment paper and set aside.

    After mixture has boiled 30 min, add chopped pistachios, rose water and red food coloring. Mix, and turn into pan lined with parchment paper. Use a spatula to help spread mixture evenly.

    Thats it! Cover your pan with a kitchen towel or cheesecloth and let it sit for 8 hours on the counter. Afterwards, place on a cutting board that’s dusted with cornstarch and cut into 1 inch squares. Dust completely with the corn starch and serve!

    So, what is the point of adding citric acid or cream of tartar? The acid is used to create invert sugar, which means that you break the sugar molecules down into glucose and fructose. This helps keep the sugar from granulating, because no one wants crunchy turkish delight!

    Posted in Desserts, Gluten Free | Tagged , , , , , | 8 Comments

    A Possum in My Chickenhouse

    So yesterday after work, I go feed chickens, feed cat , refill water in pond and I walk around the corner of the house and Maggie (our 1 year old german shepherd) had killed the young rooster that was out.

    She was prancing around having a grand old time over this poor lump of bright colored feathers. I yelled at her and told her to get into the house. I went over and looked at the chicken. Yep, it was dead – not moving at all, but it died with an eye open. Weird. After a minute it slowly closed, and I figured it was all over. I grabbed a shovel to bury the rooster. The ground was hard and dry after digging about 6 inches (I do live in the desert!), so I grabbed a bucket and dipped it in the pond and poured water in the hole. I looked at the chicken and its eye was open again. Not moving though… great- it must be paralyzed. Great, just what I want to do after work… put a paralyzed chicken out of its misery and bury it. Ugh. Sometimes you just have to do what is required. I let the water slowly soak in and finished digging. Now, how am I going to ease this poor bird’s suffering? I reached down to pick him up and he jumped up and ran across the yard like I’ve never seen a chicken run!! What? I was shocked…

    Just then, my wife and son got home from school. I explained what happened and asked if they’d help me catch the rooster and put him back in the chickenyard. We go out and the chicken is walking around normally! I catch him and take a look at his mortal wound and there is nothing! No gaping wound, no blood, no missing feathers… I guess this rooster is part possum!

    That darn bird laid there for a half an hour or so and didn’t move a muscle! I didn’t fill the hole that I dug back up with dirt… I figure the rooster may not be as lucky next time!

    As for Maggie, she is 75 lbs of pure exuberance and I believe she was having a great time playing, and theres no evidence that she even bit the rooster…although I’m sure that the rooster would disagree with my assessment! If we do nothing, she will start killing chickens and that’s unacceptable. She is starting her training with a local trainer tomorrow. My training with her started yesterday😉

    Dan

    Posted in Chickens, Uncategorized | Tagged , , , , | 9 Comments

    HQ Trivia

    I don’t usually write posts about apps for your phone, but this one seems worthwhile mentioning on my blog! I’ve always liked trivia games- whether it be Trivial Pursuit, Jeopardy or some other game, but this game is different because you can win money instead of a few people on tv! And it’s free to play…

    My kids started playing this about a couple of weeks ago and really liked it and now they have me playing too!

    So HQ trivia is an app (for android and iphone). Just download the app, register, which isn’t much more than picking a username and waiting for the next game!

    One of the coolest things about these games is it isn’t limited to just the US – you can play from any country! (Of course, you may have to get up in the middle of the night to play…)

    There is usually a game to play twice a day… here on the west coast it is played at 12 noon and at 6 pm (East coast would be at 3 pm and 9 pm. Right before a game begins you will receive a notification saying that HQ is Live.

    The host for the games is usually Scott Rogowsky. He is very entertaining comedian from New York… he even had his own tv show called Running Late with Scott Rogowsky! He is quick with a joke and even quicker with puns- so be warned!! He has quite a following on HQ.

    At the start of the game there are usually over one million players (sometimes nearly 2 million…) seems like impossible odds, but after a few questions the number of players usually drops fast.

    To win – answer all 12 questions correctly! All of the questions are multiple choice and you have 10 seconds to answer. The ones at the beginning are pretty easy, but they get harder as you go along. The best strategy that I’ve found is to play the game as a group- the more varied the group the better chance you’ll have that someone will know the answer!

    I didn’t know this question, but hey, if we all would have won we’d be getting about 2.5 cents!

    The payout…

    How much you win depends on the size of the prize and how many people actually won. The usual daily prize is $2500 and so far the average winnings are $20 to $30. My son Zack won $34.25 the other night! You can’t retire on it, but it’s a lot of fun! All payments are paid out through Paypal. The last few Sundays, the prizes were larger. One week the prize was $15,000 and the next two were $25,000! The winning payouts from those ranged from $2,143 to $5,000! Not bad…

    Extra Lives…

    In the game, give one wrong answer and you are eliminated- unless you have an extra life and use it. You can only use one extra life per game though. To get an extra life – just invite a friend and have them sign up. Make sure that they put your username in the referral box. (If you don’t have anyone else to refer… feel free to use Castirondan (I need all the help I can get!!) 😉😉)

    Has anyone else played this game? Let me know what you think!!

    Dan

    Update:

    The Trivia game for tonight (Mar 4) was for $50,000! Only six people won …$ 8333.33 each. Unfortunately, I was not one of them but it was a lot of fun playing!

    Dan

    Posted in Apps, Games | Tagged , , , , , , | 3 Comments

    Cinnamon Apple Jelly

     I’ve made cinnamon apple jelly many times before – some were flavored with ground cinnamon, some I used cinnamon extract which is pretty good, but this time I used a box of Celestial Seasonings Cinnamon Apple Spice Tea! It’s very aromatic, has a bold taste and tastes great on a piece of homemade bread! Over the last week I handed out 5 jars to friends and family (my official test testers!) and everyone loved it. The best part is this recipe is quick and easy. 

      Ingredients 

    • 4 cups Apple cider
    • 1 box Celestial Seasonings Cinnamon Apple Spice Tea (20 servings)
    • 1 box Sure-Jell no sugar pectin
    • 5 cups white sugar
    • 2 tablespoons lemon juice

        In a medium saucepan, bring the cider to a low boil. Add all 20 teabags and stir to make sure they’re all submerged. Steep for 15 minutes and remove the bags

      Whisk in the box of pectin and heat to a full rolling boil. (Mixture should still bubble when being stirred)
      Stir in sugar and lemon juice and once again heat to full rolling boil! By the time it gets to a boil you will notice it starting to jell.
      Ladle jelly into 8 half pint jars and can in a hot water bath for 10 minutes.

      I am typing this post as we drive down I-40 somewhere near Albuquerque on my way back from visiting my parents in Kansas.  My Father has Mesothelioma and nobody was really sure if he would make it to thanksgiving. I’m happy to say that he did! Now I pray he makes it until Christmas! I will fly back there next week just to be sure….

      Dan

      Posted in DIY, Jelly, Uncategorized | Tagged , , , , , , | 13 Comments

      Pomegranate Jelly v2.0

       I’ve been  spending my fall travelling back and forth to Kansas to see my parents. When I returned home a few weeks ago I realized that I had better do something with all the pomegranates on my trees or they’d all end up being eaten by our chickens. Looks like it’s time to make more pomegranate jelly!

        I remember from the last time that I made jelly that I had a batch that didn’t set-up, so I had to rescue it by making it over again with no sugar / low sugar pectin. So it seems logical too me that I should just use that type of pectin to begin with… I am sure glad that I made that decision- over the next few days I made 5 different batches  and they all worked perfectly! This is what I will use from now on!

      When I picked the fruit, there were some that had actually split open. This is supposedly caused by inconsistent watering (there was a lot of that this year!) But the fruit inside was ruby red and so far- undiscovered by the local birds. All the fruit got a good soak in water, then gently cut open with a knife. Then,using the handle of the knife- give the skin a few good raps and the arils will start falling out into your collection bowl.

      Process through a food mill to extract the juice. This year I got over 3 quarts. Feed the seeds to the chickens if you have any… they’ll love it!

                  Pomegranate Jelly Version 2.0

      Ingredients:

      • 3.5 cups pomegranate juice
      • 1 box Sure-Jell no sugar pectin
      • 1/2 tablespoon butter 
      • 5 cups sugar
      • 2 tablespoons lemon juice


          In large saucepan add the juice, whisk in the pectin  and add the butter to keep the foam down. Heat to a full boil, so that when you stir the jelly it still bubbles.

            Add the sugar and lemon juice and return to a full boil. Fill half pint jars and can in water bath for 10 minutes. Makes 6.5 to 7 jars

            My jelly was so successful  that I decided to make two other flavors. The first was blackberry- one of my favorites. The second one was an experimental Cinnamon Apple Jelly that really turned out good! Its a very simple recipe, but worthy of sharing with friends and family this Christmas season! I will share that recipe in my next post…

          Dan 


          Posted in DIY, Jelly, Uncategorized | Tagged , , , , , , | 4 Comments

          Red Savina Hot Sauce 

          The other day, I had someone on Facebook ask me what I do with all those peppers that I grow. That’s a good question, so I guess I should share what I make with all of that hot fruit! I make habanero hot sauce! The variety of habaneros that I grew this year are called Red Savina, which are about twice as big and twice as hot as the normal orange habaneros. Some of the peppers this year are over two inches in diameter!

          I’ve been making this sauce for 5 years now and every time I think that I should change the recipe – I end up deciding to leave it just the way that it is! It is smoky, sweet, savory, citrussy and very hot… but not too hot! It doesn’t take much, but its a great condiment for tacos, burgers and most everything else. My youngest daughter (22) loves this sauce enough that when she moved to Seattle for the summer I had to ship some up to her! Even most of our exchange students that we’ve hosted over the years craved it!

          This recipe is carrot based, like a lot of Costa Rican hot sauces are. They add good flavor and texture too.

          Ingredients (makes approximately 30 oz)

          • 8 oz carrots
          • 8 oz Habaneros (red savina if you can grow your own)
          • 1 head of garlic- roasted on stove
          • 1 cup Apple cider vinegar
          • 1/2 cup brown sugar
          • 1 teaspoon salt
          • 2 teaspoons liquid smoke
          • 1/8 teaspoon ground cinnamon

          Slice carrots into 1/8″ wheels, place in saucepan with enough water to cover a and cook until tender.

          While that is cooking, slice peppers a bout 1/8″ thick. Do not do like I do…. please wear gloves when working with these peppers. I always forget, then an hour later I end up touching my face, or worse… my eyes! Someday I will learn.

          Once the carrots are tender, add the peppers and the rest of the ingredients and return to a boil and cook for 5 minutes.

          Pour entire contents into blender and mix until very smooth.

          *note… you may want to consider blending this outside or at least a well ventilated room. Whenever I blend this up, my wife accuses me of making tear gas!

          You can store this in canning jars in the refrigerator, but I believe that the best way is to re-use 5 oz shaker type hot sauce bottles that have been pre sanitized. (Dont tell anyone but sometimes i buy new bottles and just dump the original contents out!😉)

          Posted in Mexican, Uncategorized | Tagged , , , , | 7 Comments

           Tonka Bean Creme Brulee

            About a  month ago I came across a recipe on a blog called Illegally Delicious  Plum Preserves Infused with Tonka Bean… cool, but what was a Tonka bean? I had never heard of it… turns out it is the seed of a tree (Dipteryx odorata) fromVenezuela. The seed looks like a large, dark brown shriveled almond that is used as a spice in some high end restaurants, also as an ingredient in some perfumes and also is utilized in one way or another in some Central/South American cultures.I am not interested in the other uses, but as a new spice to use in my cooking- I want to try it! One small problem… the FDA  has banned it since 1954! It seems that the seeds contain Coumarin, and if it is taken in a large quantity at once, it could kill you. To possibly do harm to one self you would have to eat 30 tonka beans at one sitting which just isn’t going to happen! It’s kind of like eating 30 whole nutmeg… you just don’t do it! (I do have 30+ nutmeg in my kitchen though!) As a spice, you would only use may be half of a Tonka bean. Thank you FDA for protecting us, but this ban seems a little excessive!

            After a quick internet search, I found the beans for sale on Amazon (of course) as well as eBay, etsy and a few other sites- and within a few days they were in my mailbox! It is hard to describe the aroma of the beans  as I grated some up on my microplane… flowery,  warm, a bit of vanilla note in there. I figured they’d be good in the spice muffins that I was making! The problem with that is I use so many other spices that it was hard for me to pick out the one flavor in the muffin, but they were good! I decided that I needed to make a dessert  and only use Tonka Bean so I could really taste what I was getting… thus Tonka Bean Creme Brulee!
                     Tonka Bean Creme Brulee 

             Ingredients

          • 1 quart (4 cups) heavy cream
          • 8 egg yolks (room temperature)
          • 3/4 cup white sugar
          • One half of a Tonka Bean (or live on the wild side and use a whole one!) Use a microplane to grate.

            Preheat oven to 325f, start some water boiling in a kettle for the water bath and make sure your eggs are at room temperature so your creme brulee texture is smooth!

            Heat the cream, sugar and Tonka Bean in a saucepan over medium heat until it starts to boil. Turn off heat a and set aside.

             Separate egg yolks into mixing bowl and slowly whisk in the cream mixture to temper it. The grated Tonka Bean tends to sink, so make sure to pour all of cream mixture in! 

            Pour into ramekins. (My ramekins hold about 5 oz, so I poured mixture into 9 bowls)

             Set ramekins into a water bath (I use a lasagne pan filled halfway with boiling water) and bake for 35 to 40 minutes or until lightly set.

             Let cool on the counter to room temperature,  then cover with plastic wrap and refrigerate for 3 hours or more.

             To serve, sprinkle 1 teaspoon of white sugar on top of each ramekin and using a kitchen torch, caramelize the sugar and serve. A plumbers propane torch works well for this too! 

           Tasting notes:

             The Tonka Bean flavor is still very hard to describe, but I do get warm, flowery vanilla and a bit of cinnamon. I had my family taste testers try this and they are ready for me to make another batch! 

            My cache of  nutmeg that I mentioned earlier is whole nutmeg that I had shipped from Jamaica!

            Each nutmeg is covered in a hard shell that resembles a pecan. They are easily opened by a firm tap with the handle of a knife. On the outside of the shell is a paper thin coating that is actually Mace! Interesting!

          Dan

          Posted in Desserts | Tagged , , , , , , | 10 Comments